Introduction
The Plural admin console is a web application that serves as a control panel for all your Plural applications. It:
- manages automated upgrades delivered from the Kubernetes api
- serves as a thin Grafana to visualize application metrics and logs
- serves as a built-in K8s dashboard for all plural apps in the cluster, along with providing app-level health checking
- is the touchpoint at which incidents can be filed with the owner of an application
The console is not a strict dependency, but we highly recommended installing it. It can be installed and deployed like any other application on Plural.
Info:
The admin console is separate from app.plural.sh which is primarily a package registry.
Installation
1. Check your Git authentication method.
# show repo remote with details
git remote -v
If the remote urls start with git@github.com then you're using SSH.
If the remote urls start with https then you're using HTTPS.
2. Setup for Git authentication
Follow the instructions here to generate a revokable personal access token (PAT). The access token needs to have write permissions. Keep track of this access token, you will need it later in the console install process. The PAT should have both push and pull permissions to the repository.
If you need to update your PAT you can go to the context.yaml file at the root of your repo and modify the access_token variable within the console block.
If you modified context.yaml to reconfigure your git auth, be sure to run:
plural build --only console ## wires the creds into the console helm chart from context.yaml
plural deploy
3. Install and build the Console
The plural console is installable like any other plural app. To find the available bundles, just run:
plural bundle list console
Then once you've found an eligible bundle to install, do:
plural bundle install console <bundle-name>
You will now be guided through a configuration wizard. If you have any questions about a specific parameter, refer to this document.
Once the bundle has installed, run:
plural build
The console takes over the gitops flow of managing plural apps for you. You will be asked for the git authentication credentials you created at Step 1.
4. Deploy Console
Once the build has completed, run:
plural deploy --commit "installed console"
5. Login to Console
Once the deploy finishes, it will output the url that the console has been deployed to. Navigate to that url and it will show a login screen that looks like this:
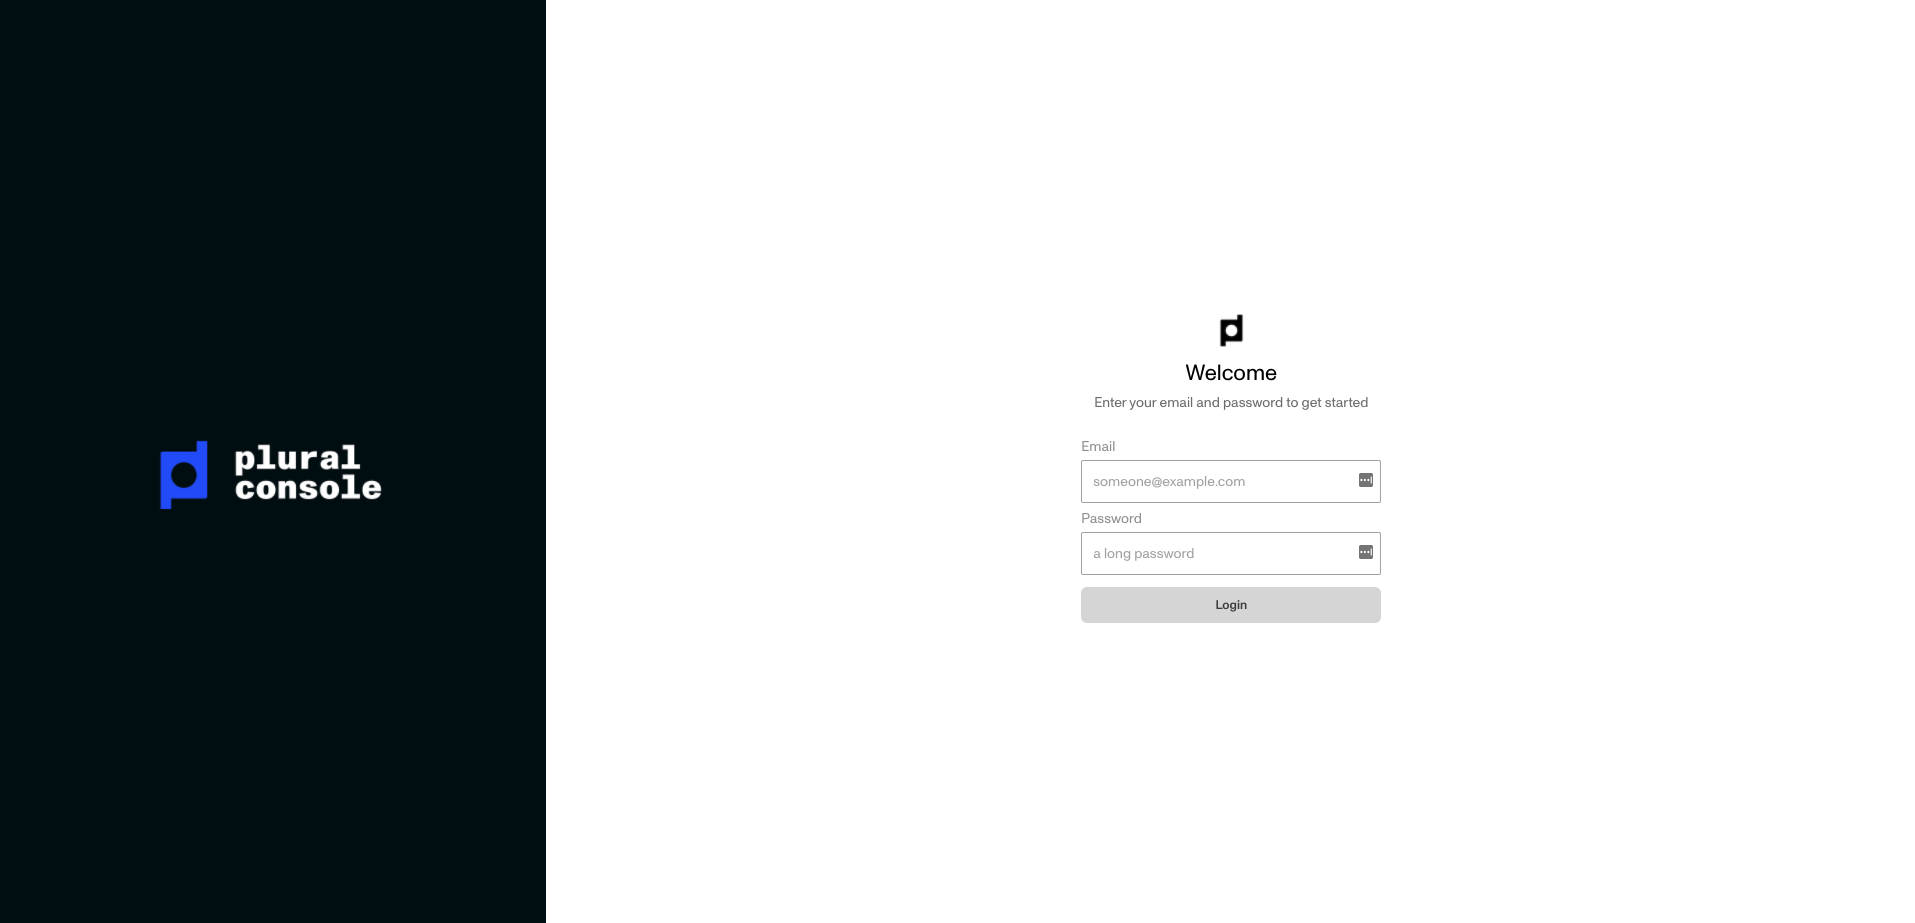
If you selected (y) to OIDC, one-login has already been configured, and you'll be able to sign in with the same credentials you use for app.plural.sh.
If you didn't select (y) to OIDC, your login credentials for this console are different from your login credentials for app.plural.sh. You can find them inconsole/helm/console/values.yaml under the console.secrets.admin_username and console.secrets.admin_password keys.
Console Highlights
The console is the command center for your Plural applications, and it comes with built-in goodies. Some highlights include:
Runbooks
- The Plural console comes with interactive runbooks that serve as guided tutorials for advanced operations on Plural applications.
For example, the Airflow scaling runbook det
ails how to look the Airflow CPU and memory usage graphs and compute your reservation appropriately. It then allows you to make that reservation directly from the runbook.